Solutions
Customer Support
Resources
Word remains the default currency for most contracts, with many businesses still opting to create and sign documents in Microsoft Word, rather than something built for contracts.
In this post, you’ll discover three different ways to sign a document in Microsoft Word: using the drawing tool, using an image, and using Microsoft add-ons. We’ll also explain a better, more efficient way to get your contracts signed in 2026.
1. Open the most recent version of the contract in Word and scroll to the section of the contract that requires a signature.
2. Select ‘Draw’ from the header options at the top of the page and choose a pen from the ones shown. The black pen on the left is the best option for contract signing. You can also change the colour of the pen by clicking on the downward arrow. Although, it’s best practice to sign contracts in black pen.
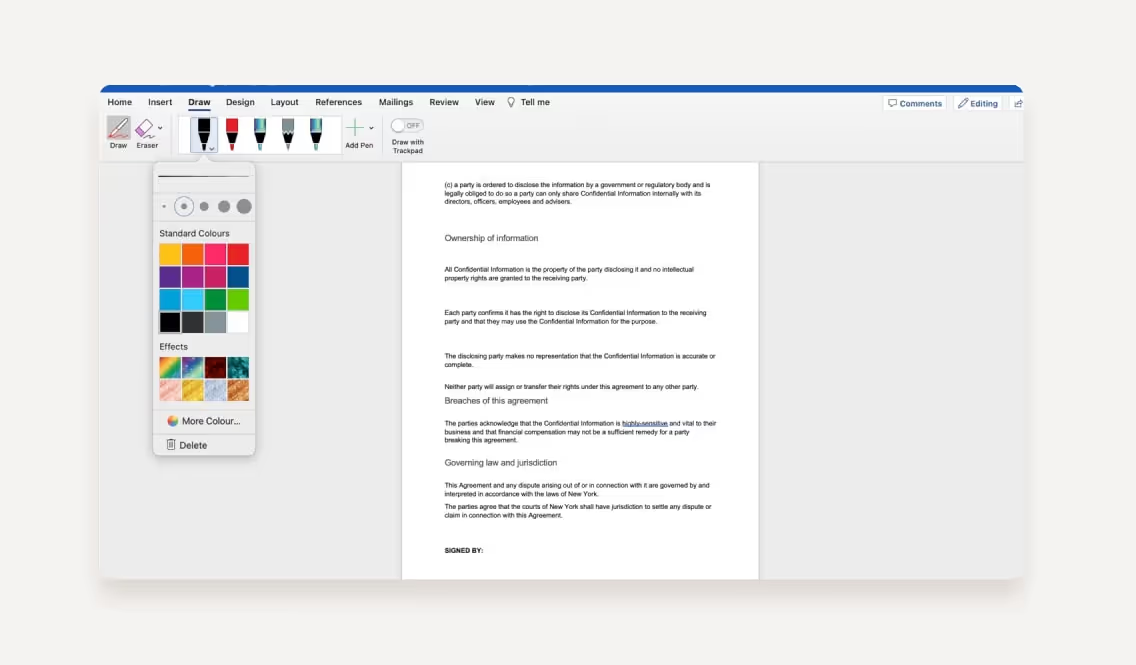
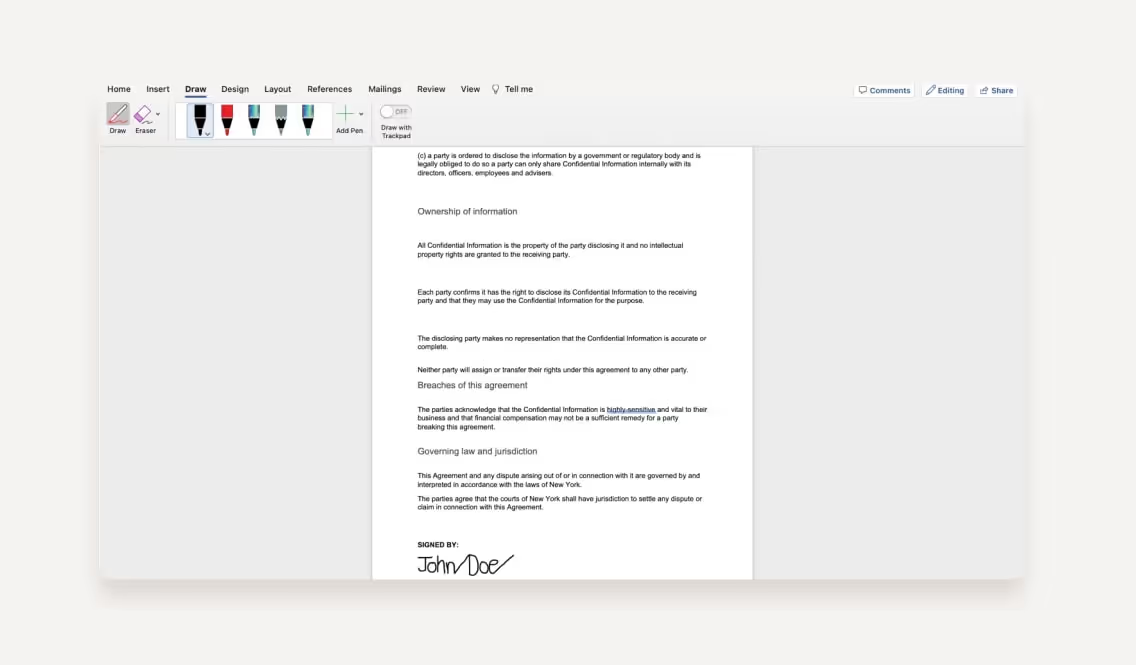
3. Once you’ve chosen your pen, simply use your cursor or trackpad to draw a signature on the Word document where you’d like it. If you make any mistakes during the signing process, you can also use the eraser tool (in the top left corner) to remove the pen marks.
1. Scroll to the part of your contract that requires a signature and select ‘Insert’ from the header navigation.
2. From there, click on the ‘Image’ icon. This will open up a list of different places to upload an image of your signature from. In the screenshot below, we’re choosing to import a photograph of our signature from our downloads folder.

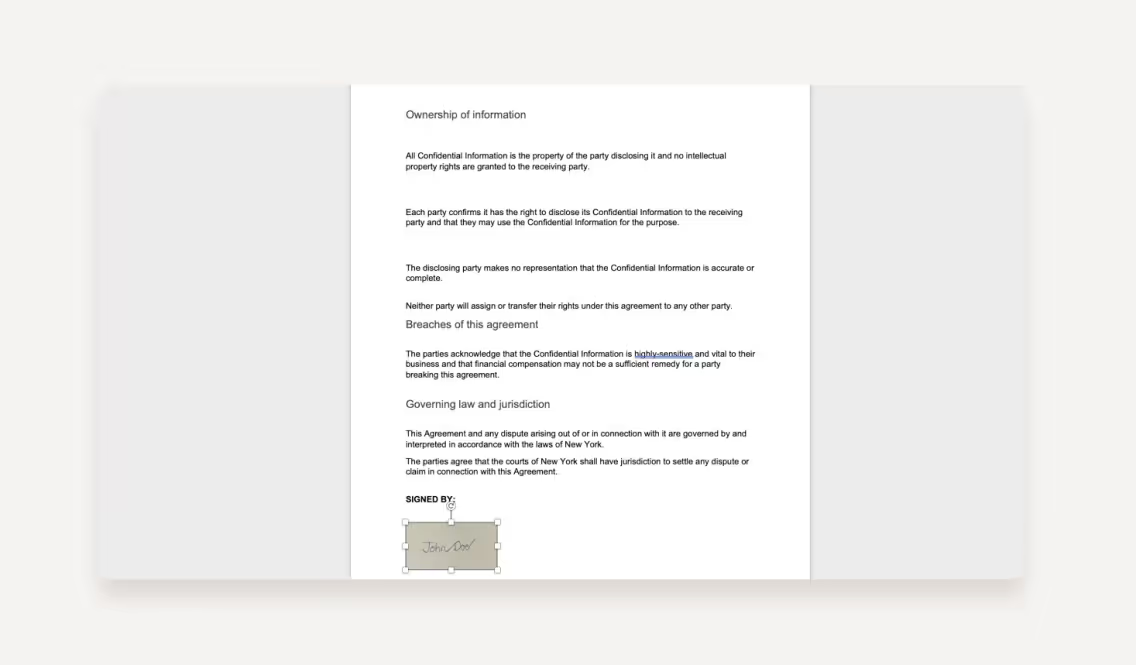
3. You’ll then need to select the image you want to add to your Word document, and this will be pasted onto the Word document, as shown below.
Another option is to connect Microsoft Word with an electronic signature add-on. These are applications that you pay for separately and can integrate with Microsoft Word to add a signature to your files.
This is done by visiting the Microsoft AppSource marketplace and purchasing one of the eSignature solutions available. Once you’ve done this and set up your eSigning tool, you can select ‘Insert’, followed by ‘My add-ins’ where your integrations should appear.
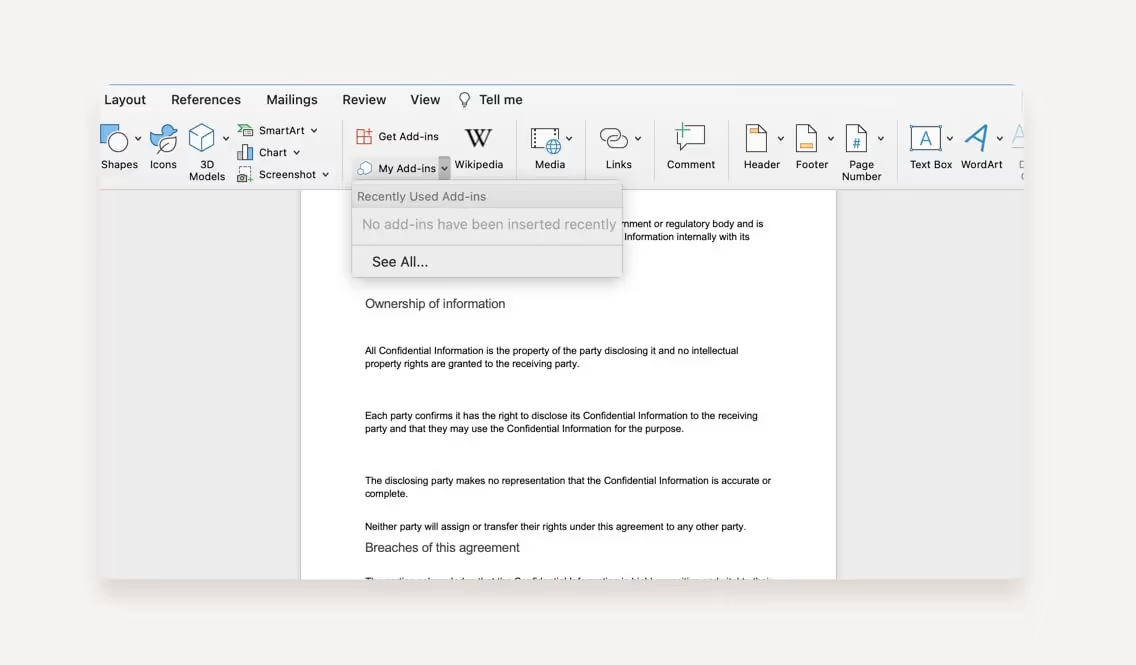
There are plenty of eSignature add-ons available in the Microsoft marketplace. However, signatories will need to jump between different tools to get contracts signed if they integrate a separate eSigning tool. They’ll also need to pay separately for this, which can quickly become expensive depending on how many contracts you need to sign.
When you create an electronic signature in Word by drawing it or uploading an image of it, you fail to capture all of the important information about the signature, like the signer’s identity, IP address, and the time and date of signing.
This isn’t surprising considering neither the drawing or image import features in Word were designed to accommodate eSignatures. However, it does mean that signatures inserted in Word can be viewed as less secure compared to those created in eSignature solutions like Juro.
This is because signatures created in Juro are accompanied by an immutable document record. This record captures all of the information needed to comply with eSignature laws like the ESIGN and UETA acts where signatures need to be clearly attributable to a person, with some sort of proof about the process used to create them.
Another limitation of signing contracts in Word is that each contract will need to be signed one by one because Microsoft Word doesn’t accommodate mass signing.
This won’t be a huge problem for individuals that only sign a handful of contracts, but it can become painful and time-consuming for businesses that manage larger volumes of contracts and need a faster way to get these signed.
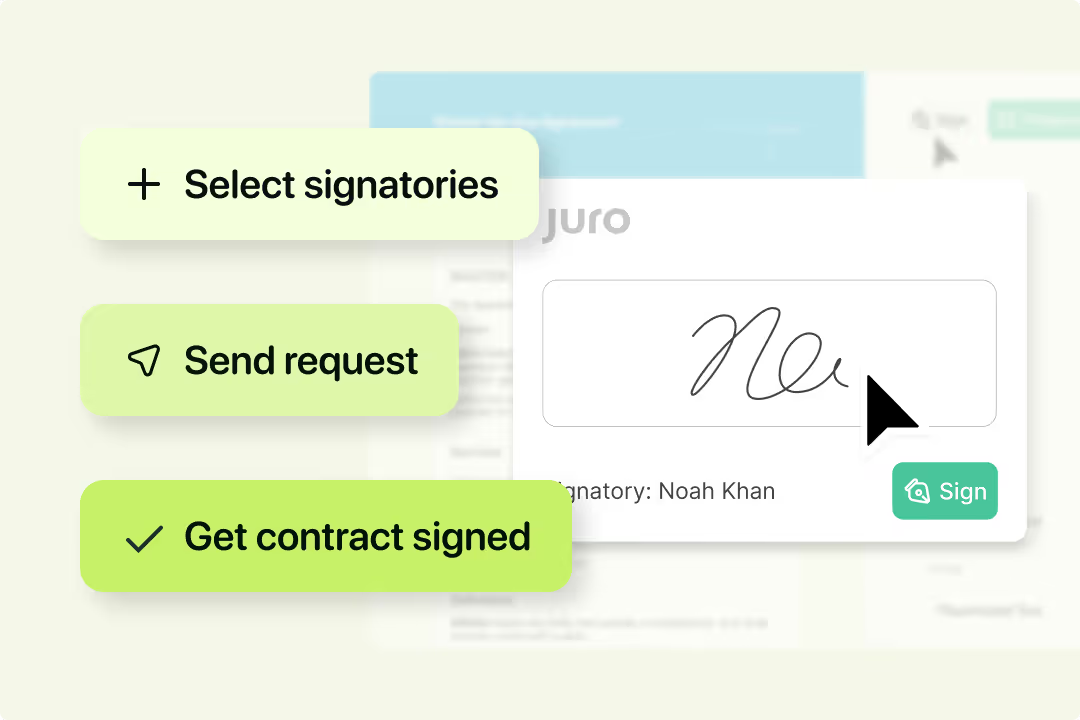
If this sounds like you, you should look for an eSignature solution that enables you to sign your contracts in bulk instead.
Juro users can select all of the contracts they want to get signed from their contract dashboard and use bulk actions to sign them all in one go. This means hundreds of contracts can have legally binding signatures added to them in just a few clicks. This cuts out weeks of work and gives your team time to work on higher-value tasks.
Microsoft Word’s eSigning capabilities are more restrictive than other eSignature solutions that offer more advanced functionality.
For example, Juro users can set up sequential signing workflows when contracts require more than one signature. In other words, they can customize their eSigning workflow so that certain individuals are prompted to sign a contract in a particular order.
Juro users can also set up automated signing reminders to prompt counterparties and internal signatories to get contracts signed faster. These are fully customizable and prevent signing requests from ending up buried in email inboxes, which tends to be the case when you share a Word document for signing.
As we’ve discussed, it’s possible to add a signature in Word. However, this isn’t the best way to get your contracts signed.
If you want a more collaborative, streamlined and intuitive signing experience for your team and your counterparties, a platform like Juro will be more suitable.
Juro’s all-in-one platform enables your team to create, negotiate, approve, sign, store and manage contracts in one unified workspace. To find out more about Juro’s features and how it can enable your teams to sign contracts faster, fill in the form below.

Lorem ipsum dolor sit amet, consectetur adipiscing elit. Suspendisse varius enim in eros elementum tristique. Duis cursus, mi quis viverra ornare, eros dolor interdum nulla, ut commodo diam libero vitae erat. Aenean faucibus nibh et justo cursus id rutrum lorem imperdiet. Nunc ut sem vitae risus tristique posuere.

